Convex Node
- Category: Masking
- Edition: All editions
- Output type: Mask
- Typical place in a graph: after the final height, smoothed, then into texturing
Convex marks points that sit higher than their neighbors: small crests, ridge lines, bumps and edges. It compares each point with the eight around it, so it picks up fine detail, and gives a hard, speckled black and white result. Smooth it before use for a mask of exposed edges where rock shows, snow blows off or the surface gets worn.
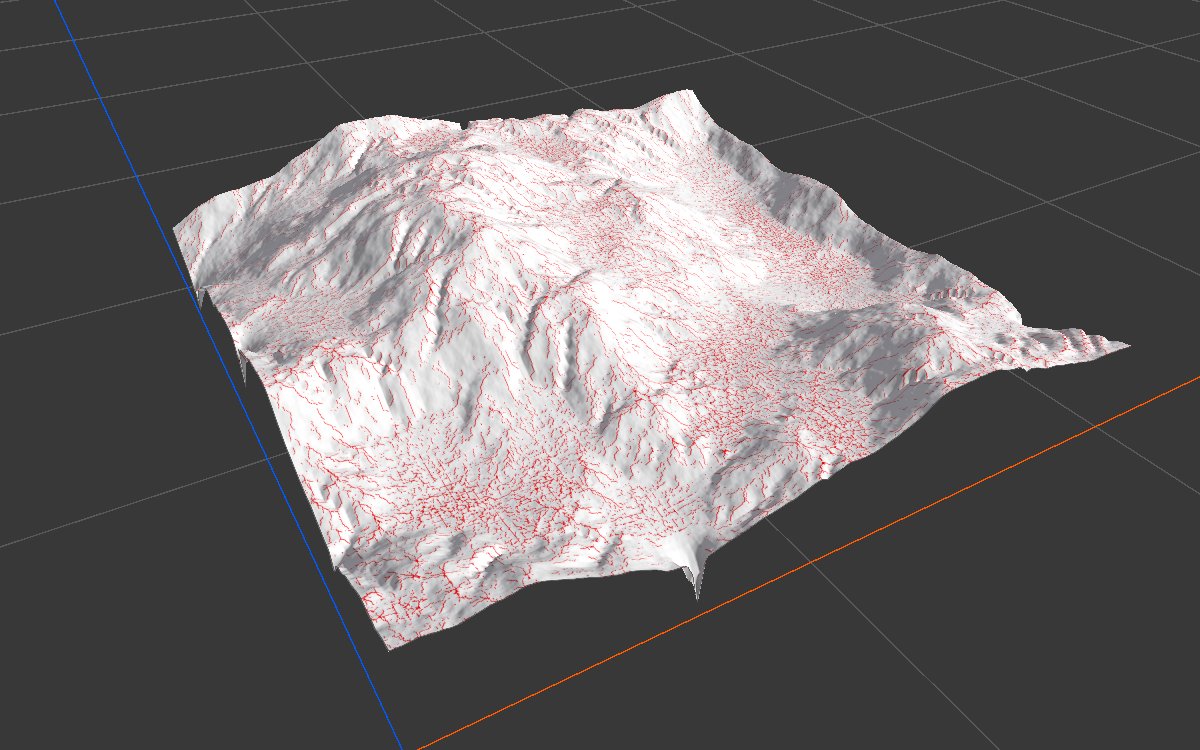
When to use it
- Fine ridges and crests, for exposed rock, lighter edges or worn texture.
- Edge highlights on rocky ground.
- Not for: smooth, size controlled ridges and hollows (use Curvature, which works in meters); peaks at a large scale (use Height Mask).
Inputs
| Slot | Type | Required | What to connect |
|---|---|---|---|
| Height | Mask | Yes | The terrain height, usually after erosion. |
Outputs
| Slot | Type | What it holds |
|---|---|---|
| Output | Mask | 1 where the point is higher than enough of its neighbors, 0 elsewhere. Hard edged and speckled. |
Properties
| Property | Default | Range | What it does |
|---|---|---|---|
| Epsilon | 0 | -1 to 1 | A small allowance in the height comparison. Positive values let points that are about as high as a neighbor still count as higher, which grows the selection slightly; negative values require a clear difference, which shrinks it. |
| Tolerance | 3 | 0 to 7 | How many of the eight neighbors may fail the test. 0 keeps only points higher than all eight (single bumps, very few); 3 needs five of eight; 4 or more selects most of the terrain. The jump between 3 and 4 is large. |
Common properties
| Property | What it does |
|---|---|
| Id | The node's unique name in this graph, shown for reference. You cannot edit it. Scripts and the AI workflow CLI use it to find the node. |
| Resolution | How detailed this node's result is, in texels across the biome. Relative To Main Input (default) matches the height connected to Height, times the multiplier below it. Relative To Graph follows the biome's Canvas Resolution instead. Absolute sets an exact size. The test compares neighboring texels, so at a lower resolution it finds broader ridges. Absolute is limited to 32 to 512 in Vista Personal and 32 to 4096 in Vista Indie and Pro. |
| Split Execution | Lets this node run over several frames so the editor stays responsive during long generations. It only works when Allow Split Execution is on in the graph settings. This node finishes in one step, so splitting only adds a short pause around it; leave it off. |
| Bypass | Skips the node. Nothing comes out, and the nodes after it act as if nothing were connected. |
Examples
All examples measure the same eroded mountains (Noise, Scale 600, then Hydraulic Erosion 2) on a 1024 × 1024 m biome at 1024 texels.
| Tolerance | 2D | 3D | Selected |
|---|---|---|---|
| 1 |  |
 |
0.3% |
| 3 (default) | 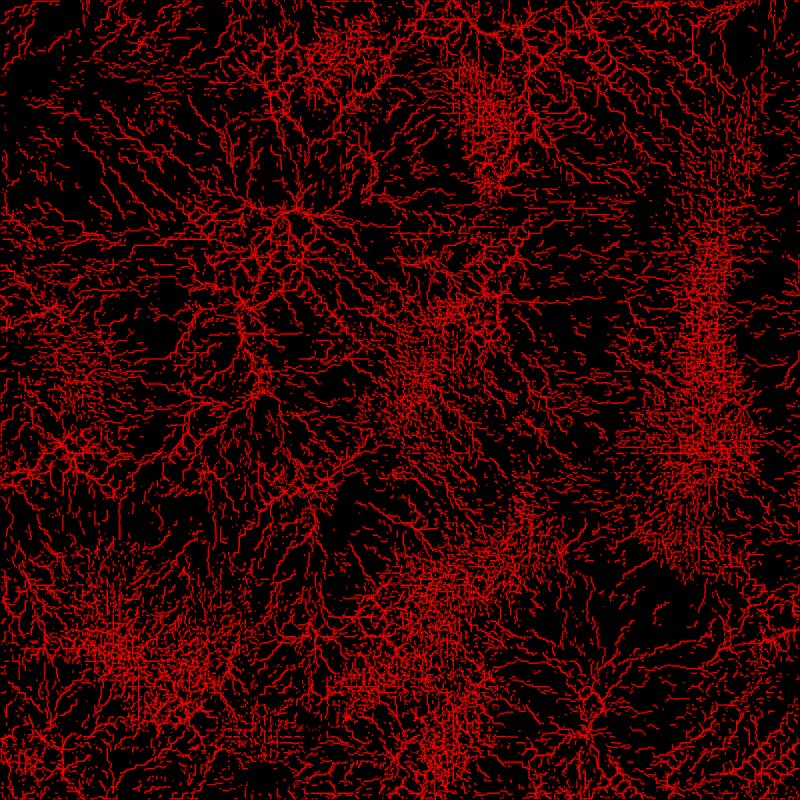 |
|
11% |
| 4 | 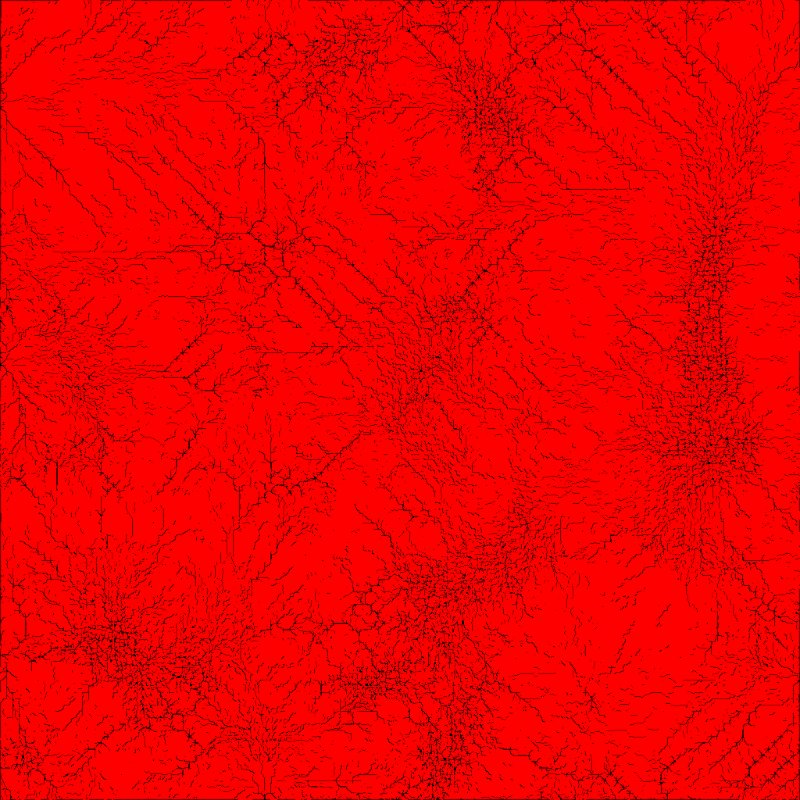 |
 |
89% |
Recipes
- Rocky edges: eroded height → Convex → Smooth (about 30 iterations) → Levels → weight of a lighter rock layer.
- Peaks and crests at a larger scale: use Curvature with a larger radius, or the
peak-highlight-from-erosionrecipe.
Tip
The raw result is speckled and hard edged. Smooth it before blending or combining.
Performance
Very cheap: one quick GPU step.
Related nodes
- Concave: the opposite, points lower than their neighbors.
- Curvature: ridges and hollows measured in meters, with smooth values.
For AI agents
- Type name:
ConvexNode. Input Height0, Output100. - Properties:
epsilon(-1 to 1, applied as epsilon/1000),tolerance(0 to 7). - Output = 1 if (count of 8 neighbors lower than center + e) + tolerance ≥ 8. Measured: tolerance 1 → 0.3%, 3 → 11%, 4 → 89%.
- Bypass produces no output.