Contrast & Brightness Node
- Category: Adjustments
- Edition: All editions
- Output type: Height / Mask
- Typical place in a graph: after a shape or mask, before erosion, combination, or output
Contrast & Brightness raises or lowers terrain and changes the difference between high and low values around the midpoint. Use it to strengthen relief, soften a mask, or shift the whole result up or down.
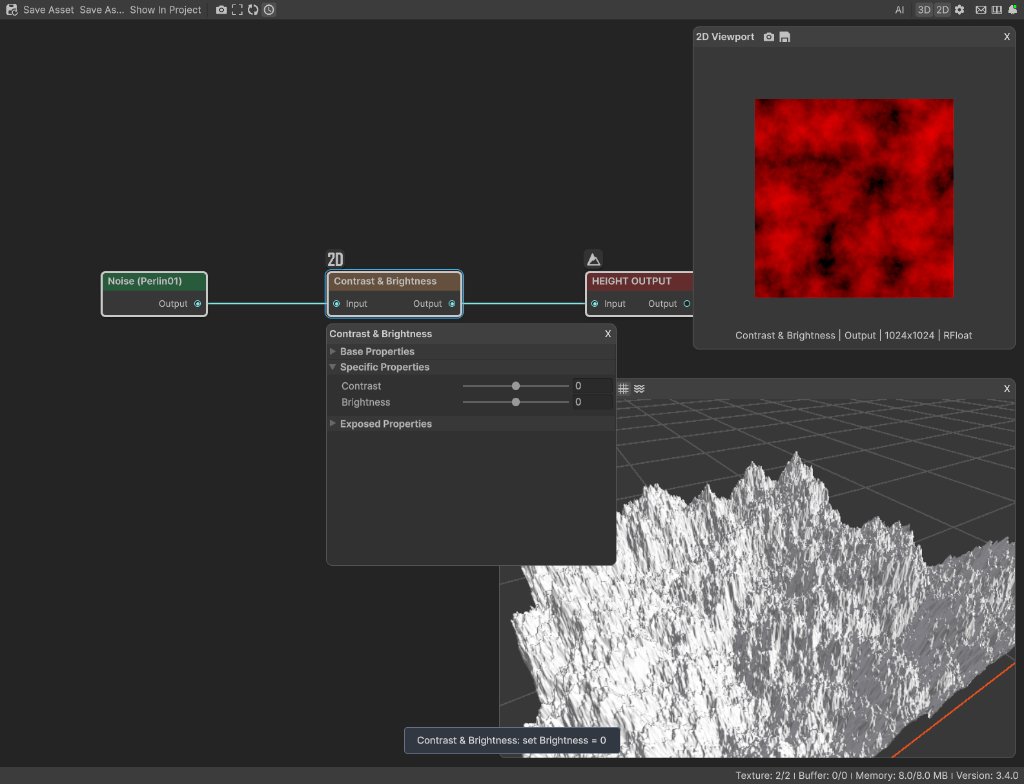
When to use it
- Make high ground higher and low ground lower with positive Contrast.
- Compress a harsh terrain into gentler relief with negative Contrast.
- Raise or lower an entire shape by a fixed fraction of the Vista Manager's Max Height with Brightness.
- Strengthen or soften the difference between selected and unselected parts of a mask.
- Adjust a result quickly when you do not need exact input and output limits.
- Not for an exact floor, cap, or midpoint curve. Use Clamp, Levels, or Curve for those jobs.
Inputs
| Slot | Type | What to connect |
|---|---|---|
| Input | Mask | The terrain shape or mask to shift and expand or compress around its midpoint. |
Outputs
| Slot | Type | What it holds |
|---|---|---|
| Output | Mask | The adjusted result. Values may fall below 0 or rise above 1. The node does not clamp them, although a later terrain output or Clamp may do so. |
Properties
| Property | Default | Range | What it does on the terrain |
|---|---|---|---|
| Contrast | 0 | -1 to 1 | Changes the width of the value range around 0.5. Positive values push low ground lower and high ground higher. Negative values pull both toward 0.5. At -1, every point becomes flat at the level set by Brightness. |
| Brightness | 0 | -1 to 1 | Shifts the whole result without changing the difference between points. A change of 1 adds 0.5 of the Vista Manager's Max Height; -1 subtracts 0.5. On a 400 meter terrain, 0.4 raises everything by 80 meters. |
Common properties
| Property | What it does |
|---|---|
| Id | The node's unique name in this graph, shown for reference. You cannot edit it. Scripts and the AI workflow CLI use it to find the node. |
| Resolution | How detailed this node's result is, in texels across the biome. Relative To Main Input (default) matches the input, times the multiplier below it. Relative To Graph follows the biome's Canvas Resolution instead. Absolute sets an exact size. Contrast & Brightness does not add spatial detail, so it usually should match the input. Absolute is limited to 32 to 512 in Vista Personal and 32 to 4096 in Vista Indie and Pro. |
| Split Execution | Lets a node run over several frames when it supports progressive work. Contrast & Brightness finishes in one step, so splitting only adds a short pause around it; leave it off. |
| Bypass | Skips the adjustment and passes Input through unchanged. |
How the two controls work
The node begins with a range centered at 0.5.
- Contrast sets the width of that range. 0 keeps a width of 1, 0.5 makes it 1.5, -0.5 makes it 0.5, and -1 collapses it to one flat value.
- Brightness moves the center of the range. The center is
0.5 + Brightness × 0.5.
The output can be described as:
output = (input - 0.5) × (Contrast + 1) + 0.5 + Brightness × 0.5
Positive contrast can send low values below 0 and high values above 1. The graph editor preview can show negative terrain dipping below its floor, while generated Unity terrain lies flat at the minimum height.
Examples
All examples use Noise with Scale 250, Persistence 0.55, and Seed 128, followed by Contrast & Brightness and Height Output. The biome is 1024 by 1024 meters with a terrain height of 400 meters.
Default: unchanged


At both defaults, the node passes every value through unchanged. The sample measured about -0.078 to 0.772, with a mean of 0.326.
Contrast 0.5: deeper lows and stronger peaks
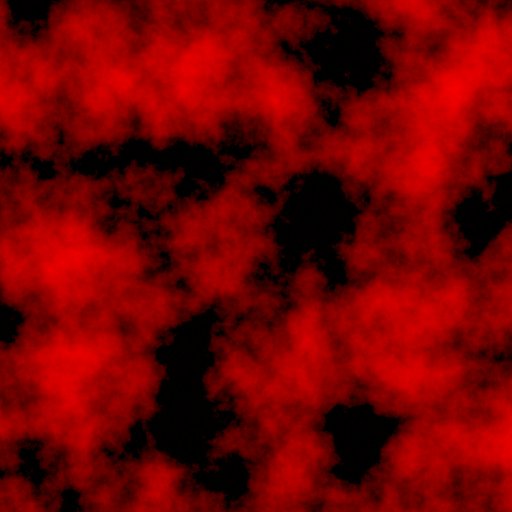
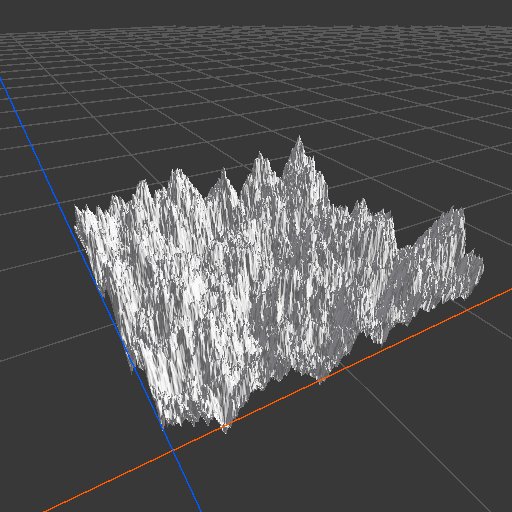
The range widens around 0.5 to about -0.366 to 0.908. Low ground drops below zero and becomes flat on generated terrain, while upper terrain rises and steepens. This strengthens relief but can create cliffs or clipped floors.
Contrast -0.5: compressed relief


The range compresses to about 0.211 to 0.636. Valleys rise, peaks fall, and the whole terrain becomes gentler without changing where the landforms are.
Brightness 0.4: raise everything by 80 meters
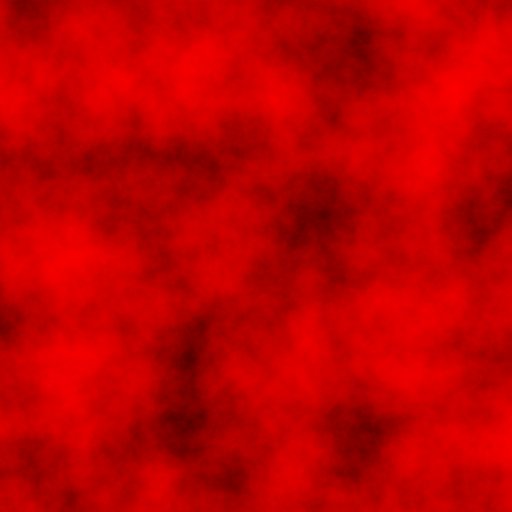
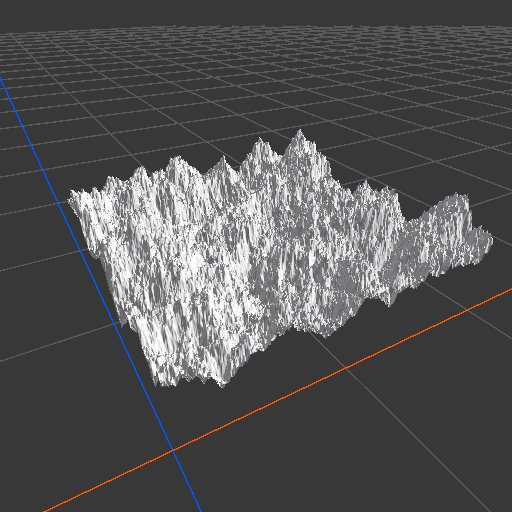
Brightness 0.4 adds 0.2 to every value. On this 400 meter terrain, every point rises by 80 meters. The measured range moved from about -0.078 to 0.772 up to about 0.122 to 0.972, with the same width.
Recipes
- Stronger mountain relief: mountain shape → Contrast & Brightness with Contrast 0.1 to 0.3 → erosion. Keep an eye on negative valleys and values above 1.
- Gentler hills: rough shape → Contrast & Brightness with Contrast around -0.3 → Height Output. This reduces relief without changing the footprint.
- Raise a whole shape by meters: set Brightness to
2 × desiredMeters / TerrainMaxHeight. To raise by 40 meters on a 400 meter terrain, use 0.2. - Soften a mask: mask → negative Contrast → Levels or output. Negative contrast pulls black and white toward gray, reducing the mask's influence.
Tip
Use Brightness for a uniform vertical move and Contrast for a relief change. If peaks and valleys should move by the same amount, change Brightness only.
Tip
Follow positive Contrast with Clamp when the result must remain between 0 and 1. Otherwise inspect the result for flat terrain where negative values reach the output.
Warning
Positive Contrast can make slopes much steeper and push values outside the terrain range. A setting that looks dramatic in 2D may create cliffs or broad flat floors in 3D.
Performance
Contrast & Brightness is very cheap. It applies one calculation to each texel and finishes in one GPU step. Cost mainly follows Resolution.
Related nodes
- Levels: controls input lows, mids, highs, and output limits separately.
- Clamp: cuts values off at exact lower and upper limits.
- Remap: stretches the values already present into a chosen output range.
- Curve: gives full control over how every input height maps to an output height.
For AI agents
- Type name:
ContrastBrightnessNode(vista_graphitor_node_add --type ContrastBrightnessNode). - Slot ids: Input =
0, Output =100. Both are Mask slots. - Properties:
contrastandbrightness, both clamped to -1 to 1. Both default to 0. - Formula:
output = (input - 0.5) * (contrast + 1) + 0.5 + brightness * 0.5. - Brightness to meters:
brightness = 2 * desiredMeters / terrainMaxHeight. - The node does not clamp its result. Values below 0 and above 1 remain in the graph until another node or output limits them.
- At
contrast = -1, every output is0.5 + brightness * 0.5, regardless of Input. - With no input, black is used and then adjusted by the same formula. When bypassed, Input passes through unchanged.
- Sample graph:
Assets/_DocSamples/NodeGraphs/ContrastBrightnessNode_Doc.asset.