Create terrain game objects
Go to GameObject>3D Object>Polaris>Terrain Wizard, this will bring up the Wizard window:
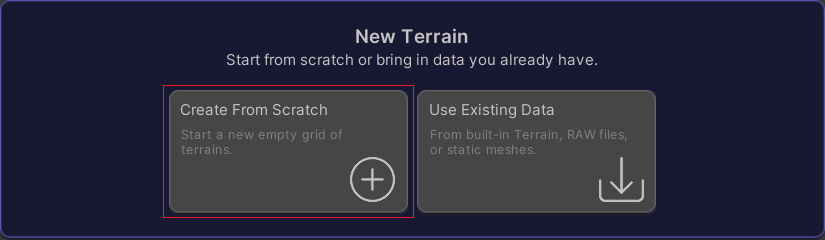
Select the Create From Scratch page.
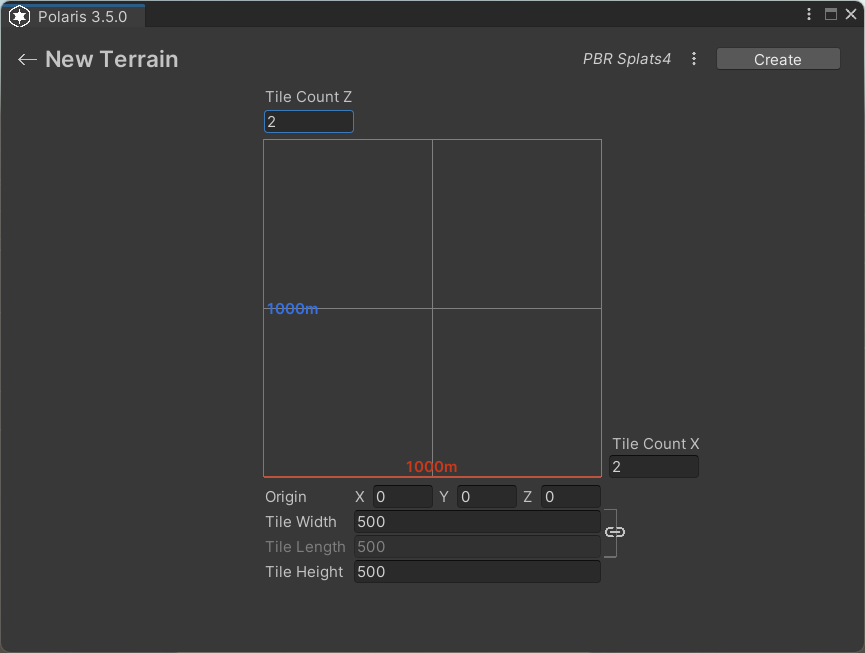
In this page, you will see the following properties:
- Origin: position of the first terrain in the new terrain grid.
- Tile Width/Length/Height: size of each terrain tile in meters.
- Tile Count X/Z: number of terrain tiles along X/Z axis.
- World Size: size of the whole terrain grid in world space.
If you're using Polaris for the first time in the project, you may need to set your terrain default material. On the top right corner, click on the shader label next to the Create button.

It will bring up the material selector:
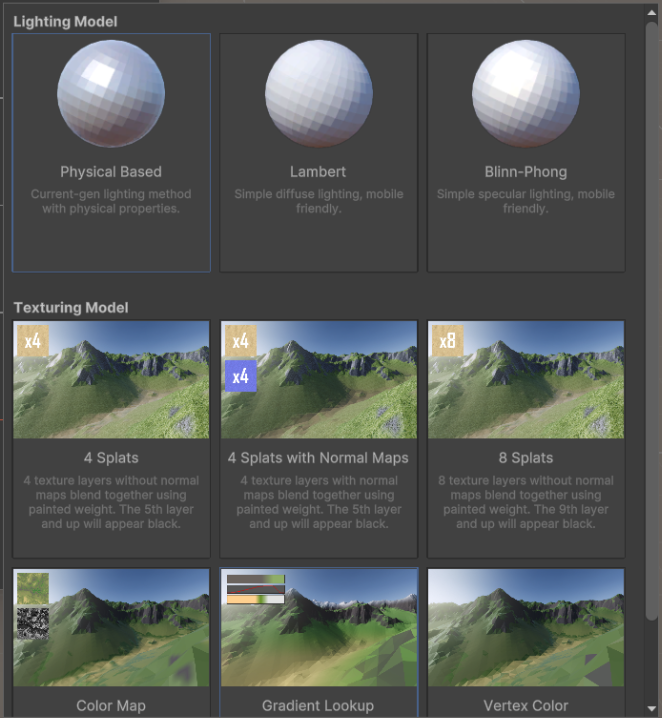
Select your Lighting Model and Texturing Model, then close the popup.
You can also switch between material mid-project, please see this page.
In the material selector, you will see:
- Lighting Model: select between Lambert (diffuse), Blinn Phong (specular) or PBR (physical based). In URP, only PBR model is supported.
- Texturing Model: choose how to apply texture to the terrain, gradient lookup, albedo metallic, or splat map blending, etc. These settings may affect some terrain tools. See Shading styles for more details.
The 3-dots menu also provide access to settings that were used infrequently:
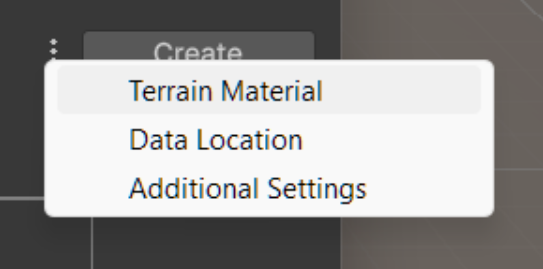
Data Location:
- Directory: a folder to store all generated assets. There are many assets to be created, so a subfolder of Assets/ is preferred.
Additional Settings:
- Name Prefix: a string to append to the beginning of terrain's name. Useful for some level streaming systems.
- Group Id: an integer to gather terrains into a group, which will affect seam stitching and multi-terrains editing.
Fill up these parameters with your value, then hit Create.

Next step
After creating the terrain, continue with: