Basic concepts
Main structure
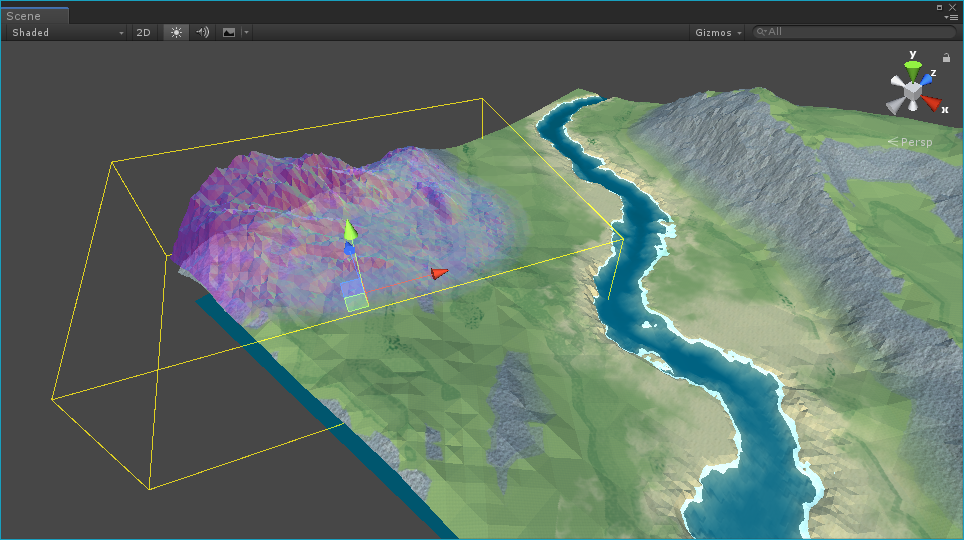
The core architecture of Polaris is designed to mainly support multi-terrains editing and GPU processing. Every terrain in a scene consists of 2 parts: the terrain component and the terrain data asset, where the terrain component is responsible for utilizing the data and creating the actual terrain.
Terrain editing tools are not combined with the terrain component. They are built as separate components and only meant to modify terrain data. There are some pre-made tools for you to use:
- Geometry & Texture Painter: Sculpt geometry and paint color, metallic, smoothness, splats, etc. onto the surface.
- Foliage Painter: Paint trees and grasses.
- Object Painter: Spawn game objects into the scene.
- Spline: Create spline and do some tasks like make ramps, paint paths, clear foliage, etc.
- Geometry Stamper: Stamp features onto the surface geometry, using some basic math operation to blend the result like add, subtract, min, max, linear interpolation, etc.
- Texture Stamper: Stamp texture/color onto the surface, with additional procedural blending methods like height-based, slope-based or noise.
- Foliage Stamper: Similar to Texture Stamper, but instead of stamping texture, it stamps trees and grasses.
- Object Stamper: Spawn game objects into the scene, with some procedural rules.
- Erosion Tool: Simulate Hydraulic and Thermal erosion to create natural looking terrain features.
Multi-terrains workflow
Polaris design and architecture comes with the “multi-terrains” philosophy in mind, which means terrain tools should be separated from the terrain itself, and it should work seamlessly across multiple terrain without manual iteration between them. To achieve the smoothest experience, resource intensive operations such as texture modification will be done on the GPU side.
Some actions like geometry painting require the neighboring terrain to be set up correctly, so that their edges can match up and eliminate the gap between them. See this page for more details.
Terrains in the scene can be grouped together for different purposes, such as play area and background, or different biomes, using a simple integer as Group Id. This Id will tell terrain tools which one to apply the action on, and which one not.
The Wizard
Polaris provides a Wizard window to help you get started with the most used parts of the tool. Right click on the Hierarchy, select 3D Object>Polaris>Terrain Wizard to open it.

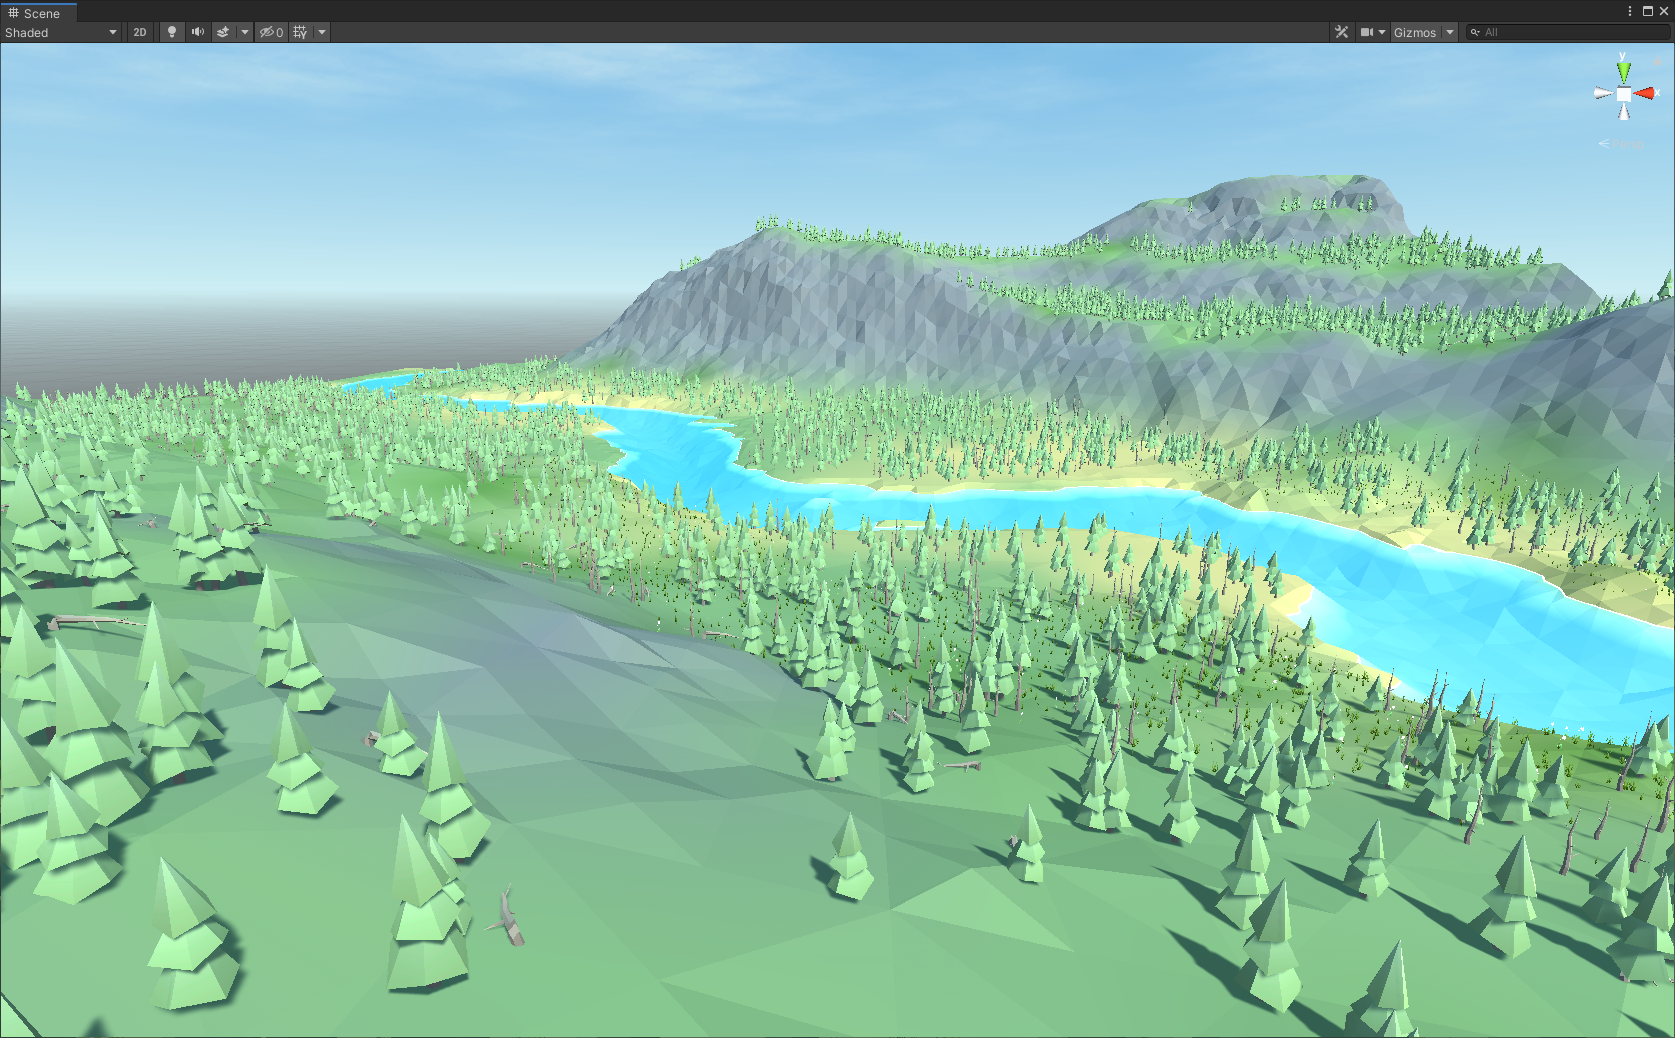
Shading styles
Polaris supports a wide variety of shading styles, from geometry-based (height, slope) gradient lookup, albedo metallic, splat map blending, to vertex color. Some terrain tools only work with a specific shading style. There is a wizard tool to help you to configure the material, we will talk about it later.

There are 3 lighting model included:
- PBR: physical based, the highest visual quality model.
- Lambert: simple lighting, without specular.
- Blinn Phong: simple lighting, with specular.
Note that only the PBR model is available in the Universal Render Pipeline.
Gradient Lookup
This model uses 2 gradients to shade the terrain based on vertex height and normal vector. The 2 gradients are blended together using a curve.
This is the easiest way to color your terrain procedurally. You can also paint an additional albedo layer on top, for things like roads and fine details.

Color Map
This model uses a single albedo map for the whole terrain. Suitable for terrains that don’t require much detail. You can use the Merge UV option for sharper triangle color.
Splats
Similar to Unity terrain, it uses multiple textures stacked on top of each other, blended by control/alpha maps. This model gives the highest detail level, especially at close up distance.
There are 3 sub-model:
- 4 Splats: use up to 4 splat textures.
- 4 Splats 4 Normals: use up to 4 splat textures with normal maps.
- 8 Splats: use up to 8 splat textures.
You can use more splat textures with more complex shading effects with MicroSplat Integration.
Vertex Color
This one uses vertex color channel for the terrain. Vertex colors are read from the albedo map when generating terrain geometry.
Main assets

There are some asset types you need to care about:
- Terrain Data: contains data related to a single terrain, such as its height map, material textures, foliage instances and other settings. A new instance will be created when you create a terrain. Each instance will be assigned with an ID for some purpose. Do NOT duplicate this asset, it will not work. Instead using data export/import for copying data.
- Terrain Generated Data: contains generated geometry meshes. You don’t need to commit this asset using a version control, since it can be re-generated using terrain data. This asset is created automatically.
- Splat Prototype Group: contains a set of splat texture, can be shared between multiple terrains. Go to Project Window>Create>Polaris>Spat Prototype Group to create one.
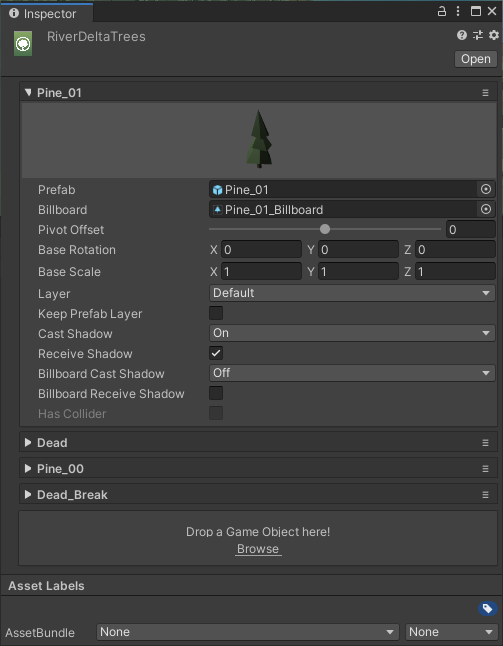
- Tree Prototype Group: contains a set of tree prefabs and related settings, can be shared between multiple terrains. Go to Project Window>Create>Polaris> Tree Prototype Group to create one.
- Grass Prototype Group: contains a set of grass texture and detail object prefabs with related settings, can be shared between multiple terrains. Go to Project Window>Create>Polaris> Grass Prototype Group to create one.
Since Polaris supports multi-terrain editing, some properties like splat textures and foliage prototypes are not bound to a single terrain. Instead they’re configured in an asset object as a gallery, then that asset will be assign to multiple terrain in the scene:
Undo and Backup
Polaris provides a custom Backup System to help you manage editing history better. Go to Window>Polaris>Tools>Backup to open the Backup editor.

Polaris will record a snapshot of your terrains after a modification. Each snapshot will have a name depending on which action you did. Note that this system is non-linear, which means you can restore data at any point in the History list by clicking on that entry. History entries are cleared after the Unity editor is closed.
You can also use Ctrl+Z and Ctrl+Y to perform undo/redo as usual.
Different from History snapshot, a Backup will write all* data onto disk, which will remain across editor sessions. Use the Create foldout to do so. Backup files are stored in the GriffinBackup folder, right next to your Assets folder.
See Backup Tool for more detail.
* This system only records textures and foliage data, other numeric values will not be recorded.
Frequently used editor menus
You can easily find Polaris functionalities in these editor menus:
- Assets>Create>Polaris>…: Create Polaris specific assets like Terrain Data, Splat Prototypes Group, Foliage Prototypes Group, etc.
- GameObject>Create>3D Object>Polaris>...: Create terrains and terrain tools in the scene.
- Window>Polaris>...: Open additional editor window or configure Polaris global settings.